Is a quiche a quiche if there are no eggs and cream involved? Is pastry dough pastry dough if zero butter was used in the making of it? Maybe I should call this recipe a vegan vegetable tart, instead of a quiche, just to be safe from all the people complaining about veg*n calling dishes the same as their not veg*n counterparts, just because it’s easier to convey what kind of dish it is.
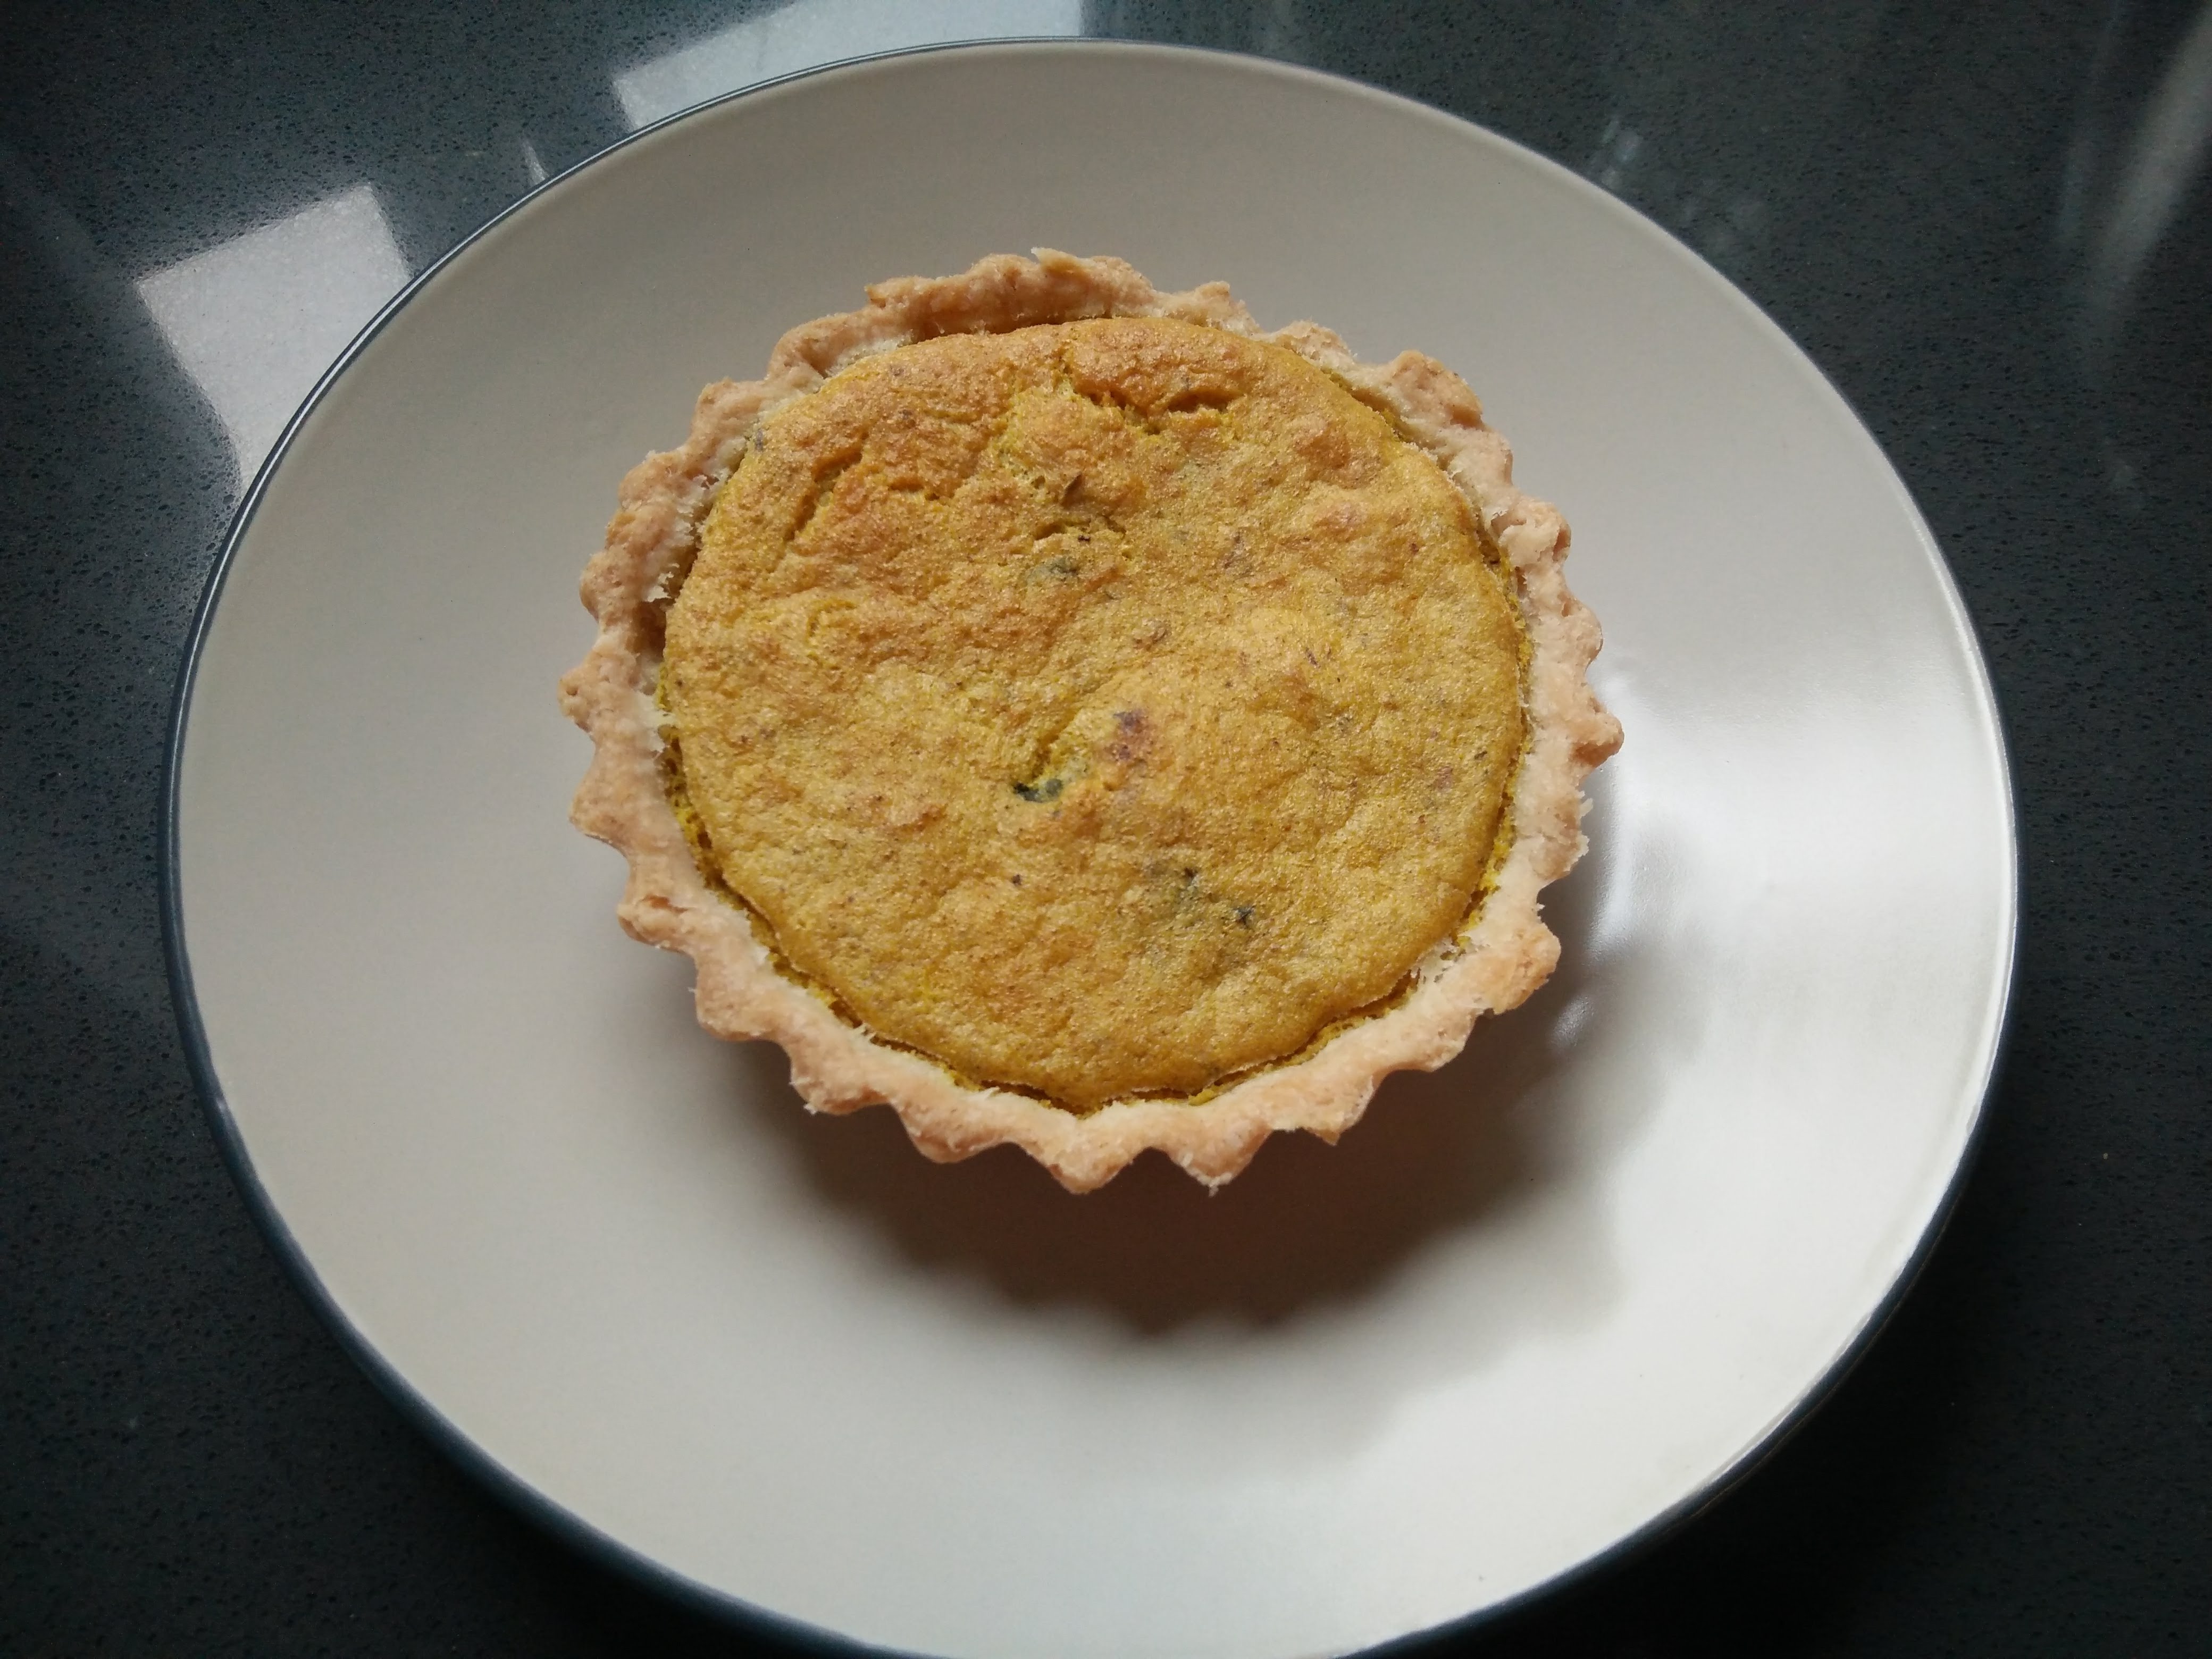
Mini vegan veggie tart
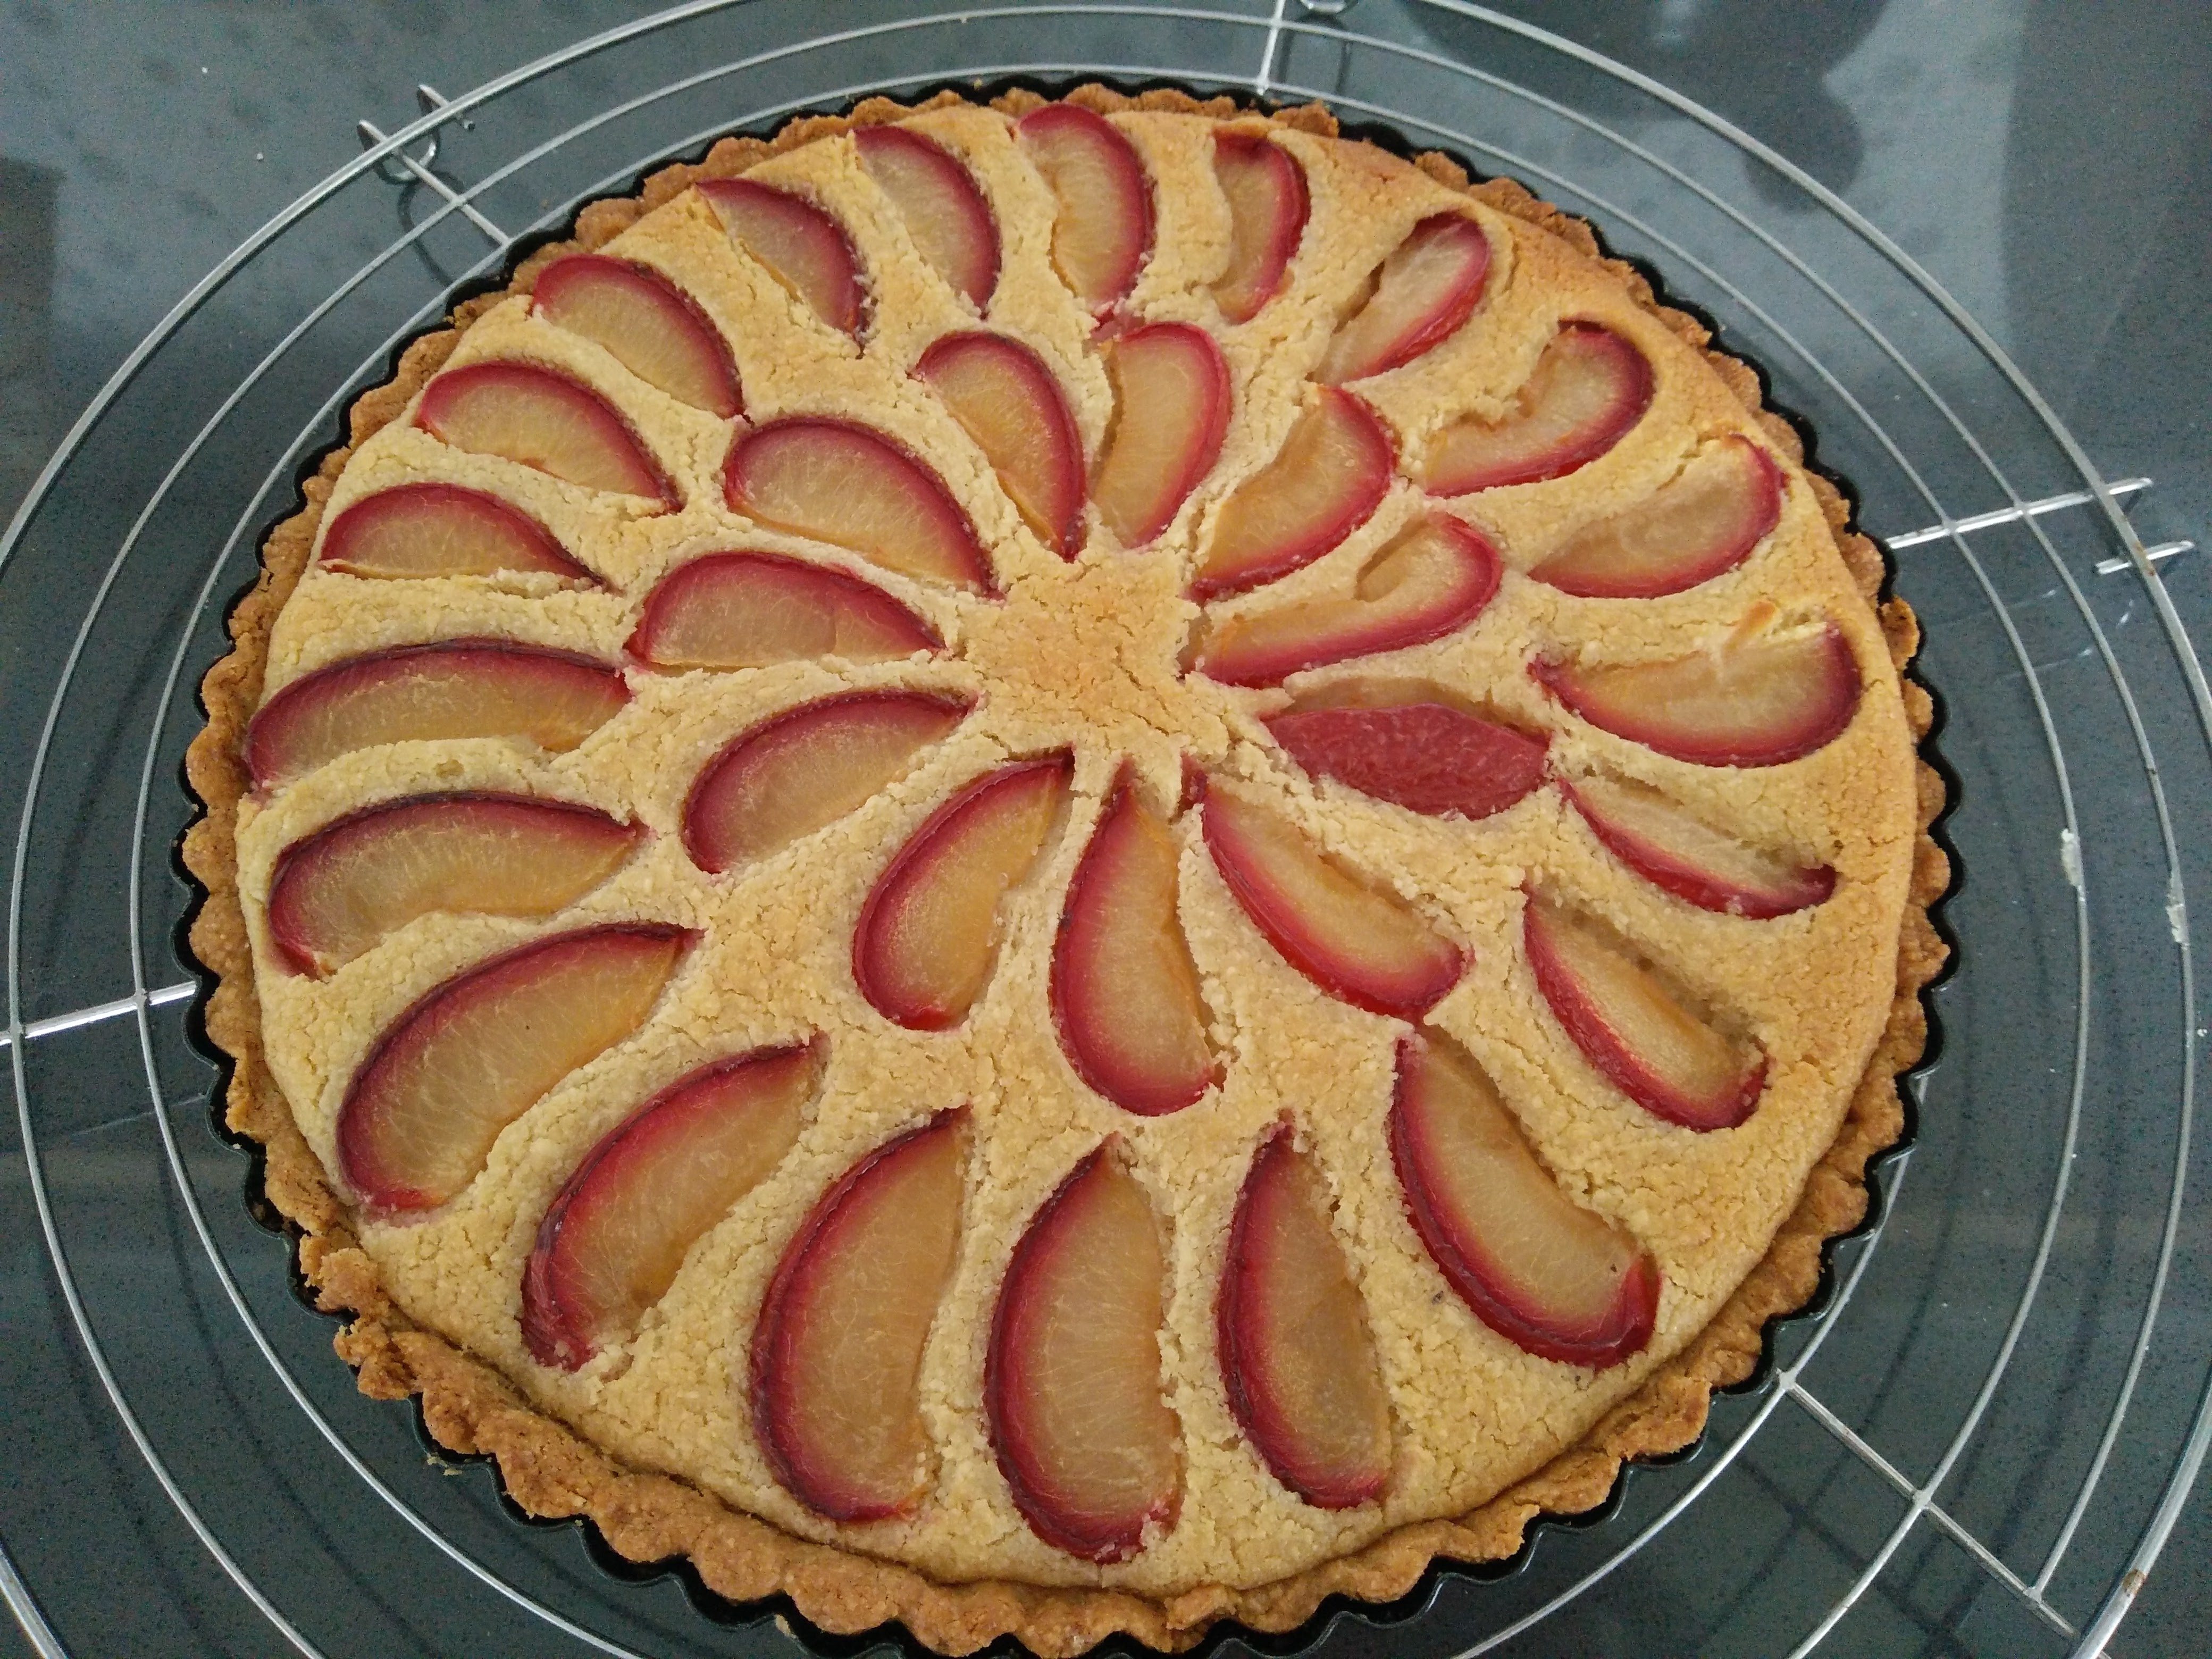
In any case, this vegan tart can be adapted to whichever (seasonal) vegetables you want to use. The base can be used for sweet as well as savory tarts. Fruit pies, frangipane tart, veggie tarts! The uses are pretty much endless. I tried this crust a couple of times, to make sure the first time wasn’t just a fluke. And it wasn’t. The next step will be finding a gluten-free flour mix with which the recipe works well.
Ingredients
For the crust:
- 275 grams all purpose flour
- 1/2 tsp salt
- 120 grams refined coconut oil (solid)
- 6-8 tablespoons (90-120 ml) cold water
For the vegetables:
- 250 grams mushrooms, cleaned
- 1 onion (±125 grams) onion, peeled and finely chopped
- 300 grams frozen spinach, thawed and liquid squeezed out
- olive oil
- salt & pepper to taste
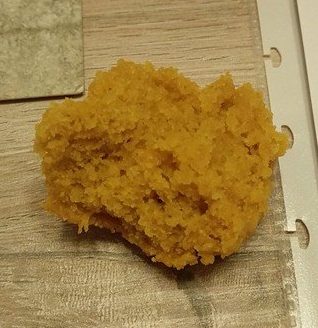
For the “custard”:
- 400 grams silken tofu
- 240 ml water
- 140 grams chickpea flour
- 2 tablespoons nutritional yeast
- 1/2 teaspoon turmeric
- 2 teaspoons dried oregano
- 1 teaspoon ground coriander
- 1 teaspoon salt
- 1/4 – 1/2 teaspoon cayenne pepper (to taste)
Instructions
For the crust:
- In the bowl of a food processor or stand mixer with paddle attachment, mix the flour and salt. Add the coconut oil in small(ish)1 pieces, and mix or process until only very small pieces of oil are left and it looks like a crumble.
- With the machine still running, add the cold water, one tablespoon at a time, until a cohesive dough forms. Not all water might be needed.
- Remove dough from processor / mixer, give it a quick knead to bring it all together, and start rolling out.
- For individual / mini quiches, cut the dough in pieces2 before rolling each individually about 3 mm thick.
- Line each tart mold, carefully pushing the dough into the crimps.
- Set aside in the fridge3 before filling and baking.
For the vegetables:
- Preheat oven to 180°C.
- Chop the onion. Cut the mushrooms in quarters. Mix both and spread in a (lined, for easier cleaning) baking tray. Spray some olive oil, season with salt and pepper.
- Bake mushrooms for 20 minutes, until golden brown. Remove from the oven and let cool.
- Meanwhile, thaw the spinach. Squeeze as much liquid as possible and chop finely. If using fresh spinach, chop & saute in a bit of oil until wilted and the liquid has evaporated.
- Allow spinach to cool. Then mix with the mushrooms.
- Note: this tart can be made with any vegetables you want. Calculate 700-750 grams of vegetables in total.
For the custard:
- In a blender, mix tofu and water together.
- In a bowl, mix chickpea flour & spices with a whisk.
- Add the mixed tofu to the chickpea flour and mix to combine. Let it rest about 10 minutes before proceeding.
Assembly and baking:
- Preheat oven to 175°C.
- Take the lined tins out of the fridge, divide veggies between the tins, then pour custard to fill the crust4.
- Place the tins on a baking tray.
- Bake 20-25 minutes until set and golden.
- Remove from tins and serve.
Servings
8-10 servings
Notes