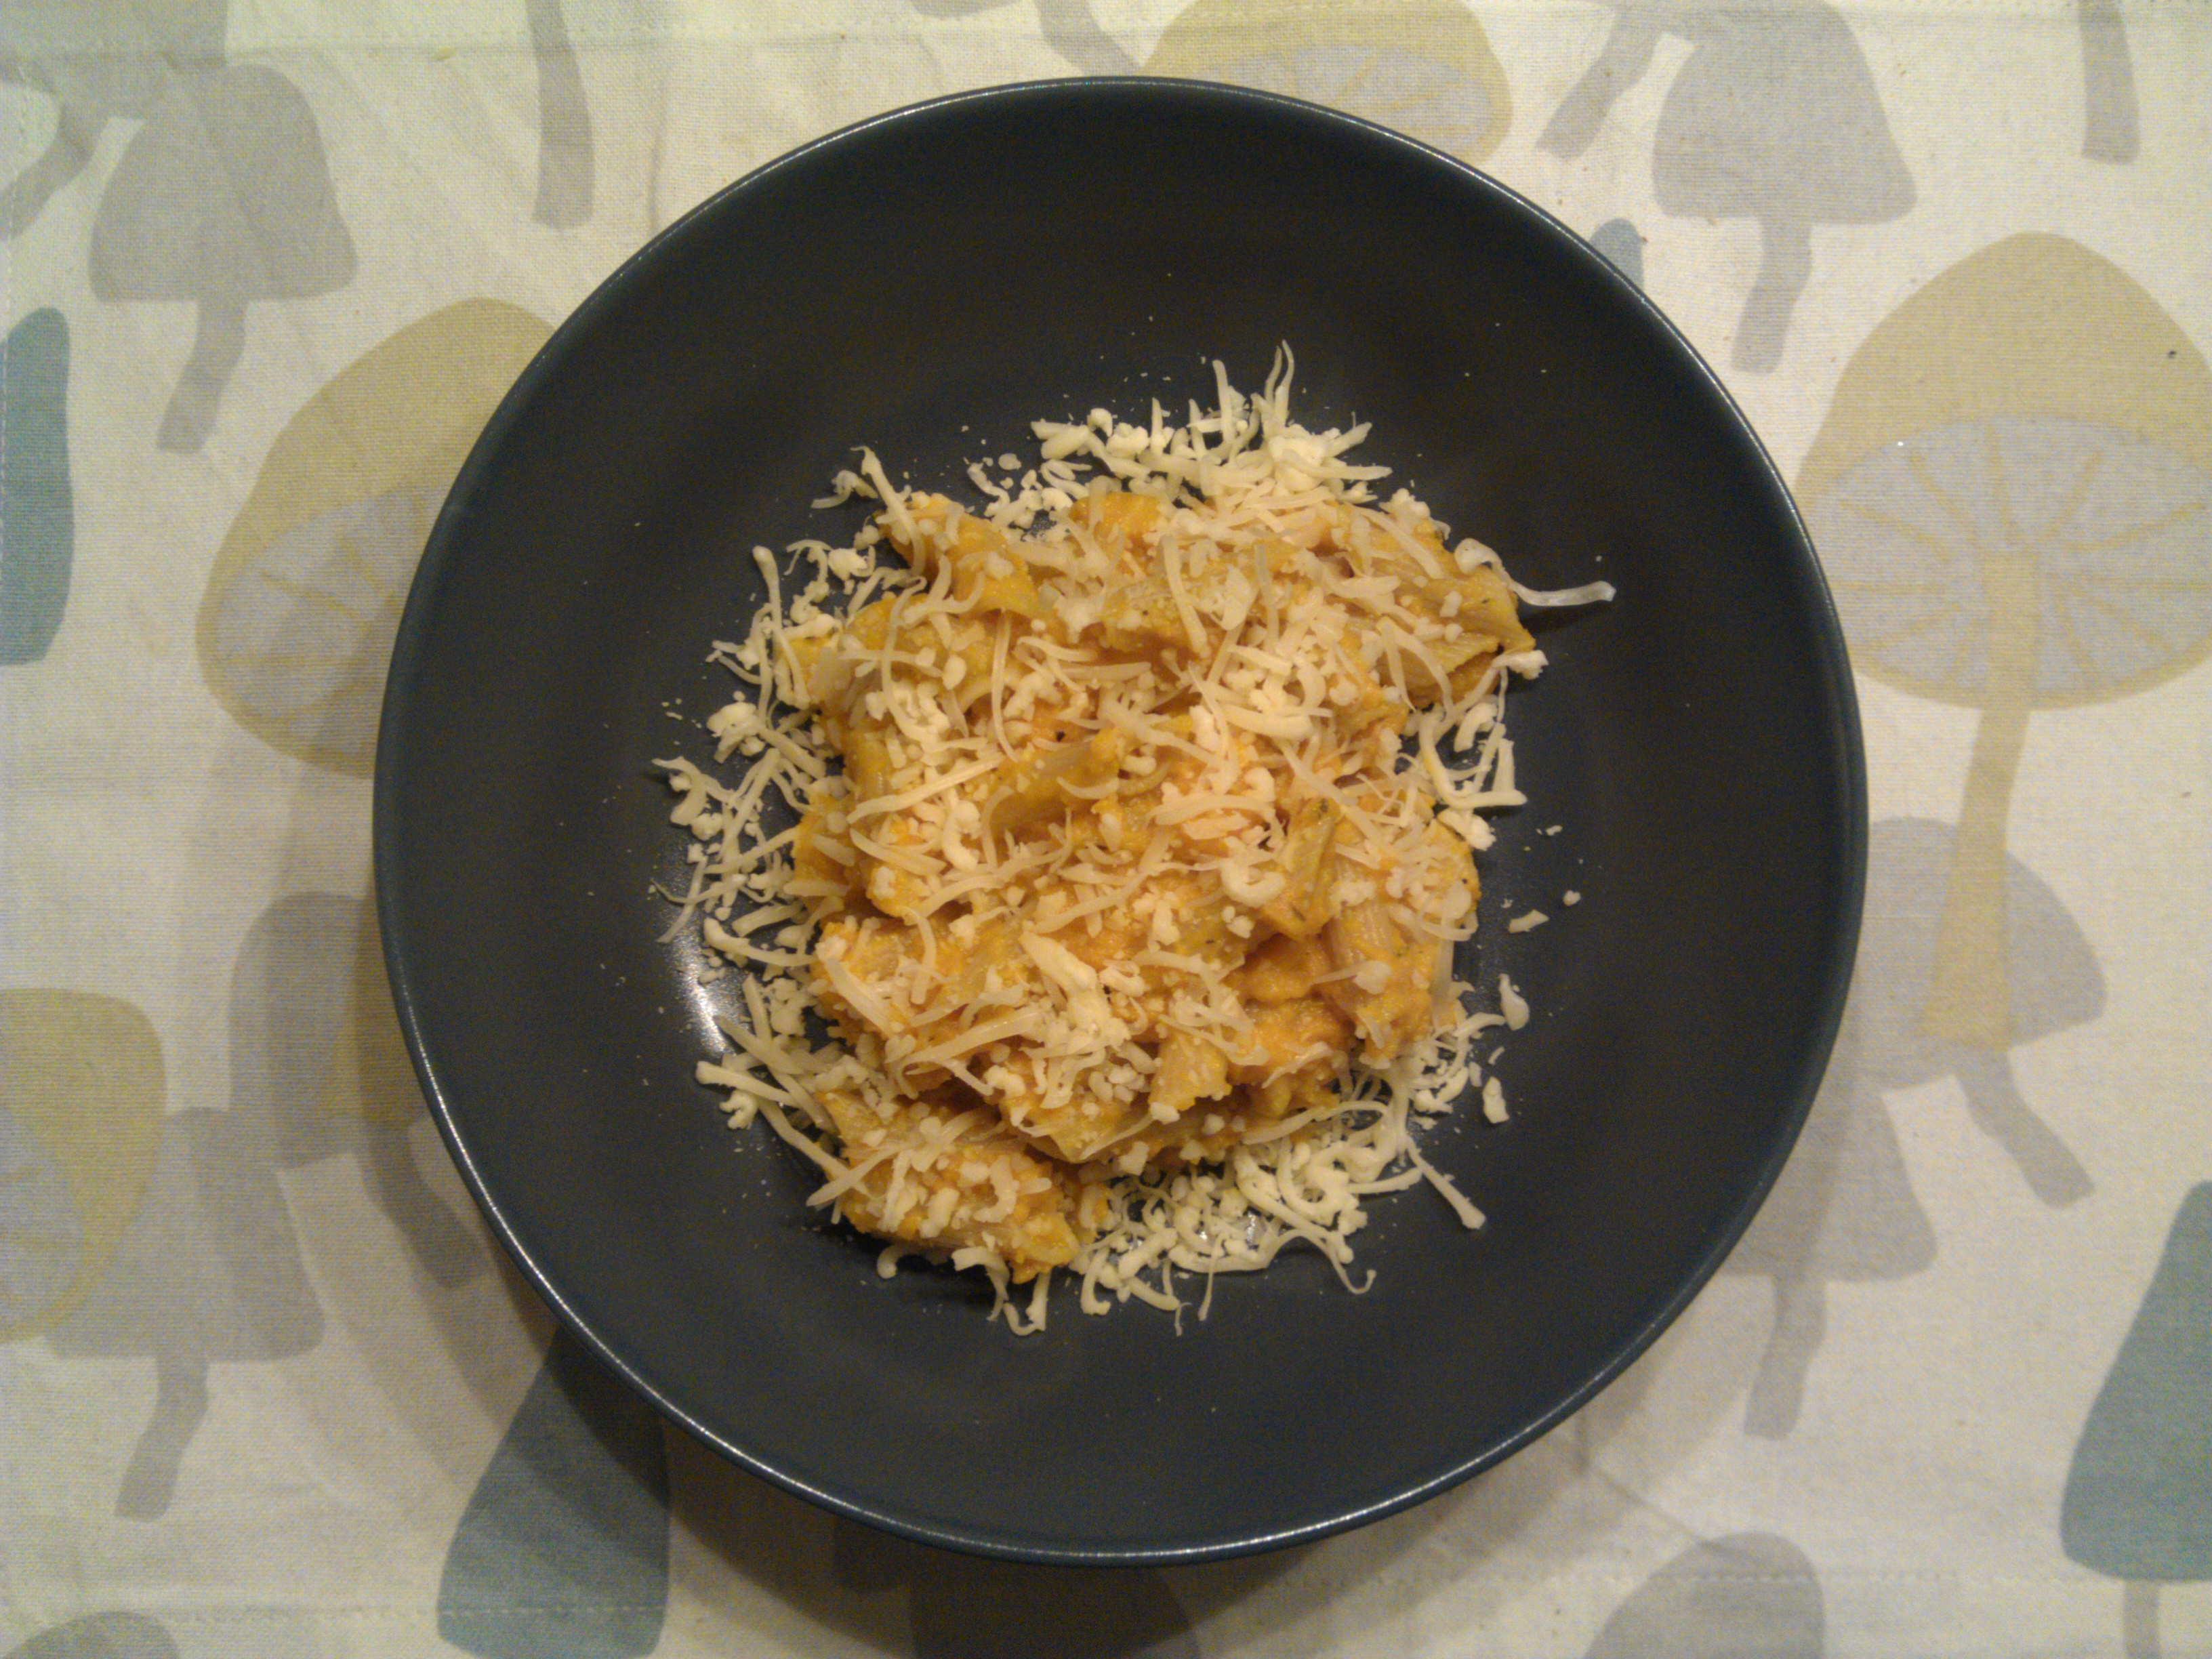
Whole wheat pasta with roasted carrot sauce
Ingredients:
- 750 gr carrots, peeled and in 1,5 cm thick slices
- 1 onion, peeled, roughly chopped
- 4 cloves garlic (big ones, if they’re small, put more!), unpeeled
- 2 tbsp olive oil
- 1/2 tsp dry thyme
- 1/2 tsp dry sage
- 200 ml vegetable broth
- salt & pepper
- 60 gr fresh cheese (or crème fraîche)
- 250 gr whole wheat pasta (penne, spirelli…)
- 160 gr grated cheese
Instructions:
- Preheat oven to 200-220°C.
- In a big bowl, mix carrots, onion, garlic cloves, olive oil, sage & thyme. Place in oven proof dish and roast in the oven for 45 minutes, turning once or twice, until carrots have some brown spots. If garlic begins to brown too much, remove from oven earlier.
- Take carrots out of oven and let cool slightly. Squeeze garlic cloves out of their skins, and add to the bowl of a food processor, together with carrots & onion. Add broth. Process until smooth. Add fresh cheese and mix well. Taste and adjust seasoning.
- Meanwhile, bring a pot of salted water to a boil and cook pasta according to instructions (minus a minute or so).
- Drain pasta, reserve some of the cooking liquid. Add carrot sauce to the pot where pasta was cooked, add pasta, and cooking liquid if needed to make a smooth sauce.
- Serve pasta warm with cheese on top.
Servings: 4 servings
Nutritional info:
Calories: 446
Protein: 24 gr
Fat: 12 gr
Carbs: 62 gr
Next time I’m probably skipping the cheese and serving the pasta & sauce as a side to a veggie schnitzel or something like that.